
Repurposing a political yard sign into a birdhouse is a great way to give campaign materials a second life. Most corrugated plastic (“coroplast”) yard signs are waterproof, lightweight, and easy to cut. Unfortunatly they can't be recyled in curbside bins. You can take your sign to a county recycling center and they can handle it from there. Here’s a simple approach I found on the internet and modified by an Architect (me) to match the same yardsigns from this Campaign, modify as you see fit. It should take you 30min max. IT WILL BE EASIER TO VIEW THIS ON A FULL SCREEN - small phone screen is not great for unserstanding some of the detrails. eMail me if you get suck or need help: john@glenn4rtd.com - you can do this!

Materials:
-
election sign (18x24)
-
string
-
twist ties or zip ties or hot glue (I am describing the instructions with zip ties)
-
Cutting board or some sort of sacrificial backer - you wont want to cut into your table.
Tools:
-
Craft knife, utility knife or break-off blade knife, Xacto.
-
Straight edge, or anything with a straight edge that you either can't or aren't worried about cutting into
-
Sharpie
To make sure your cuts are nice and straight, use a straight edge, metal ruler, or anything straight that you're not worried about cutting into, to guide your blade. Keep in mind the anisotropic structure of the coroplast while cutting it. If you're cutting diagonally, each time you cross a rib it will try to deflect your cut. To prevent your cut from being deflected, choose your direction of cut and place your straight edge so the ribs point toward the straight edge in the direction of your cut.
To make sure you don't cut too far at corners, make each cut in two parts, always starting at the corner and cutting toward the middle. If you want your birdhouse to look finished from the outside, you'll need to cut all the way through the material in most places, and only partway through in others — like the slots for the floor. Try extending the blade only a little from your X-Acto knife to make sure you don't cut too deep.

SCORING:
At certain points in these instructions, you'll need to "score" a designated line. This means cutting only through the top layer of the coroplast, without cutting all the way through. Please take particular attention to this.
STEP 1 - LAYOUT:
Before starting, it is important to layout your work. Below is a simple schematic plan showing dimensions and how this will be cut. Black lines = Full Cut Lines. Green Lines = Score Lines. You dont need to add the dimensions on your project, I am only including them below so you can see how to mark each line prior to cutting. The two gabled peaks should center on the 7" front and back panel.

STEP 2 - CUTTING:
Perform a deep full cut only on the black lines designated above. Be careful to not overcut at corners.

After you cut out 3 seprate pieces you then want to cut a 2.5 to 3" hole in the front panel for the birds to access their new home. Adjust the diameter based on the type of birds you may want to attract. (see pic). Center the hole like I do.
STEP 3 – SCORING
Carefully score only the lines shown in green in the schematic above. Do not cut completely through the coroplastic material.
The score should be deep enough to create a clean fold or separation point while leaving the material intact.
Starting with the larger piece at the bottom, form a box with this piece. This will become the four walls of your birdhouse. The goal is to create a hinge at each scored location. Carefully fold the material along the scored lines, following the example shown in the image below.


STEP 4 - CLOSURE
Using your X-Acto blade (or whatever tool you are using to cut), carefully make six slits—three on each end panel. Make sure the slits are aligned with one another on both ends, as circled in green below.
Next, use three zip ties to close and secure the main box. Thread the zip ties through the corresponding slits and tighten them to hold the box securely in place. Once the box is closed and securely fastened, cut off the excess ends of the zip ties. PROTIP: when your closing any of the zip-ties in this project, do its slowly and carefully. In some of these locations if you pull the zip ties too tight you can rip it out of the corplast.


STEP 5 - ASSEMBLE THE BOTTOM
Take the 7" x 4 3/4" bottom piece and mark then using your knife cut 3 slits per side. I am using masking tape in the picture to show you roughly where they need to be placed. Make sure these slits are not too close to the outside edge.
Align, mark then cut the slits on each of the corresponding side panels to match with the bottom panel. (circled in green)


STEP 6 - SEW UP THE BOX
For this step, you’re going to feed 12 zip ties through the slits in the bottom panel and then through the corresponding slits in the side panels.
I’ve included a couple of pictures below showing how to do this. Make sure all 12 zip ties are fed through their corresponding slits before tightening any of them.
Once all the zip ties are in place, tighten them to securely fasten the bottom and side panels together. When everything is tightened trim your zip tie tails.


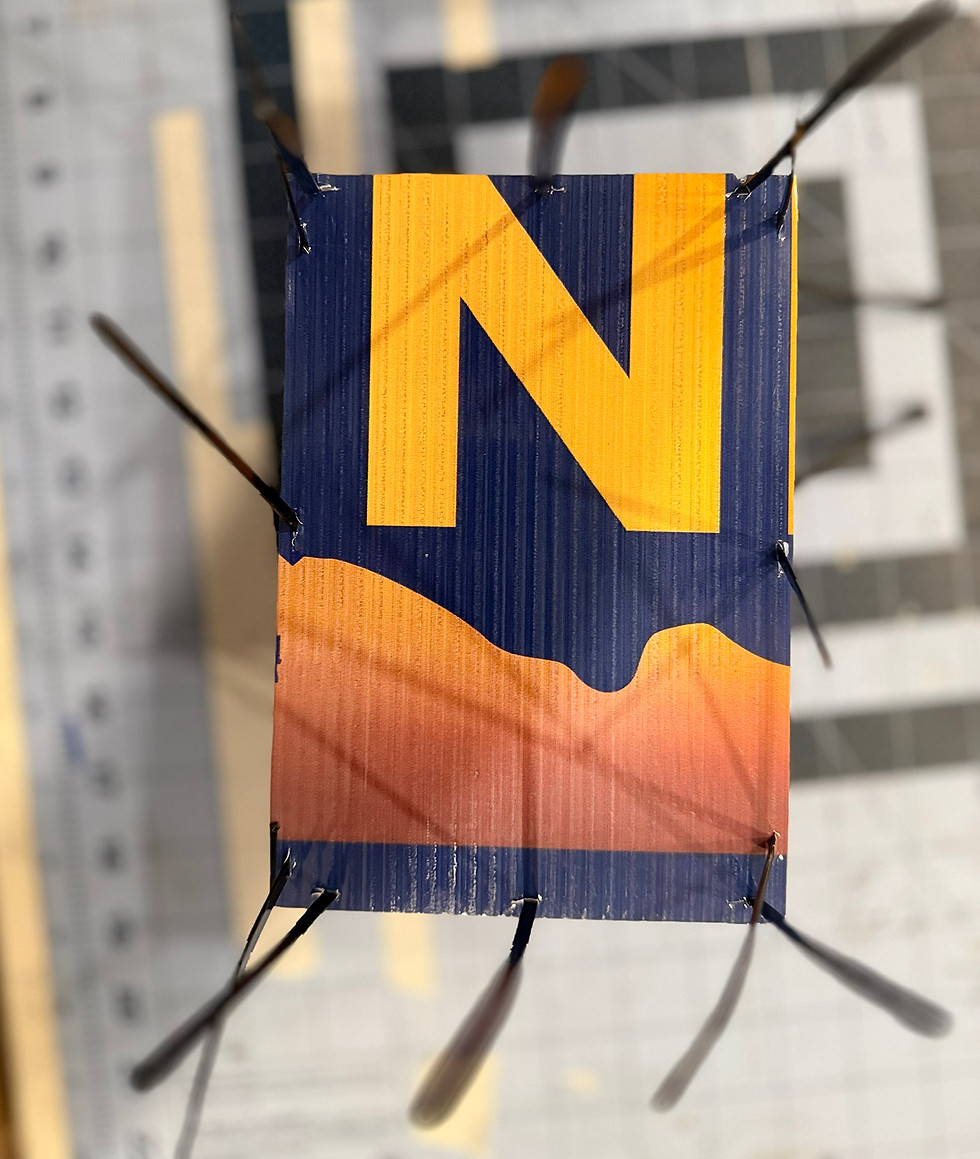

STEP 7 – ASSEMBLE THE ROOF
If you haven’t already made the center ridge score (green line), do that now on the roof panel. This score will create the fold at the center of the roof.
Next, start with the flat end (rear) of the birdhouse. On the opposite side of the ridge score, measure 1 inch from the back edge of the roof panel and mark a line. This is shown as the purple line in the image.
Make sure this 1-inch line is marked on the opposite side of the ridge fold score, as shown in the image.

STEP 7 – CONT.
After marking the 1-inch line on the underside of the roof panel, measure and mark 4 1//4" inches on both sides of the center ridge line, as shown in the picture.
These marks will show you where the roof will sit on top of the box.
Next, mark and make four slits for the zip ties, just as you did in the previous steps. The four slits are circled in green in the picture. Recap: On each side, 1 set of slits on the side of the box and 2 sets on the top as shown (green).
Align these slits from the underside of the roof panel with the corresponding locations on the two side panels of the box.

PRO TIP: Make sure you are making these slits in the side panels, not in the peaked front and back panels. The roof should attach to the two side panels.
STEP 8 - HOME STRETCH
Sew the zip ties through the side panel slits and through the roof slits, similar to before. Pull all 4 zip ties through both sides prior to tightening. The ridge of the roof should align with the two peaks of the gabled ends of the box.


STEP 8: FINAL
Your birdhouse is now complete!
You can customize your birdhouse with a piece of string or cord sewn through the center of the roof ridge. This will allow you to hang the birdhouse from a branch, hook, or other suitable location.
I also added a bird perch using some excess sign material and attached with hot glue. You can customize this element however you like. Use a small piece of leftover sign material as shown, add a wooden dowel, or skip the perch altogether—it’s your choice!
Have fun making it your own.

